
 The Raspberry Pi 3 single board computer is used in many hobby projects, but many times it is overlooked as a simple and low-cost desktop solution. In this article we will cover installing the Raspbian Operating System on a Pi and using it like a desktop PC.
The Pi 3 is usually used in projects, but it can handle simple web surfing and basic word processing just fine. The Raspbian operating system (which I prefer) is pretty easy to use. There are also some very nice Pi cases out there now, making the Pi 3 a viable solution for schools, small businesses and home users where price is a limiting factor.
Using the Pi 3 as a desktop is also a great jumping point to get used to the Pi, so that you will be more comfortable in using it for projects at a later time.
You will need:
- Raspberry Pi 3
- MicroSD (Class 10) Memory Card (I prefer the 16 or 32 GB varieties)
- Raspberry Pi Power Adapter
- MicroSD Card writer (Many laptops and some desktops have these built in)
- Raspbian Operating System
- HDMI Monitor
- Keyboard
- Mouse
- High Speed Internet connection
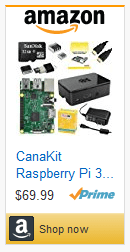
You can get the Raspberry Pi 3, memory card, and power adapter separately, but there are several kits available on Amazon.com that include the necessary parts including a case in a kit form. The CanaKit Complete Starter Kit is one of my favorites.
Installation
Installing Raspbian is a little different than installing an OS on a desktop. Like buying a bare bones desktop PC, you will need to install an Operating System on the Pi. If you bought your Raspberry Pi as a kit, it may have come with a pre-installed version of Noobs OS. You can try and see if you like that. But I prefer using Raspbian.
Installing Raspbian involves downloading the Raspbian OS image from the Raspberry Pi website and then writing the image to the microsd memory card. Once the memory card is written, you then simply insert the memory card into the Raspberry Pi and boot it up.
- Download Raspbian – https://www.raspberrypi.org/downloads/raspbian/
- Write the image to a MicroSD card.
One of the easiest ways to write the image in Windows is to use Etcher
- Download and install “Etcher” – https://etcher.io/
- Once Etcher is installed, insert your MicroSD card into the memory card writer, and start Etcher.
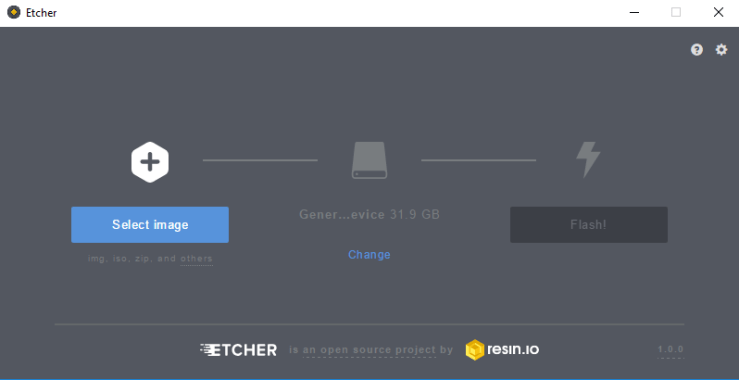
- Simply select your Raspbian image using the “Select image” button
- Make sure your MicroSD card is listed in the middle, if not click on “Change”
- When everything is correct click, “Flash!”
Etcher will then write the image to the memory card.
- Eject the memory card and then Insert it into the Pi (Make sure the power is disconnected from the Pi when inserting or removing the memory card).
- Attach keyboard, mouse, video, your network cord and power your Pi up.
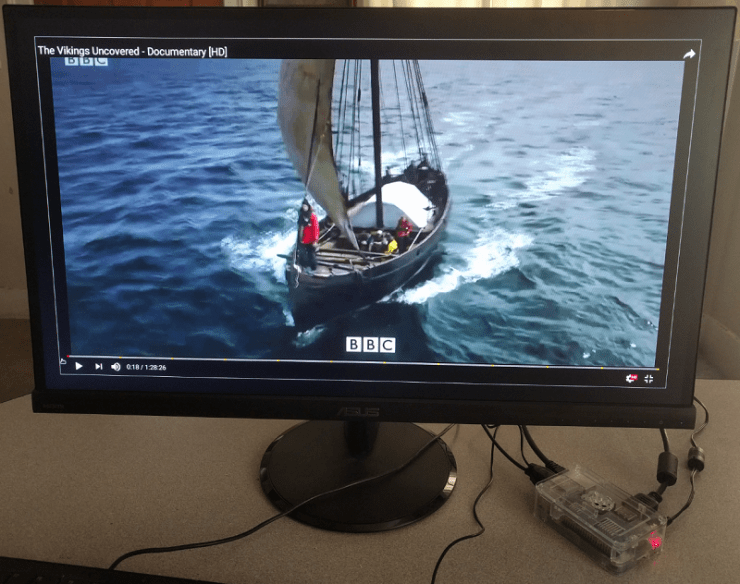
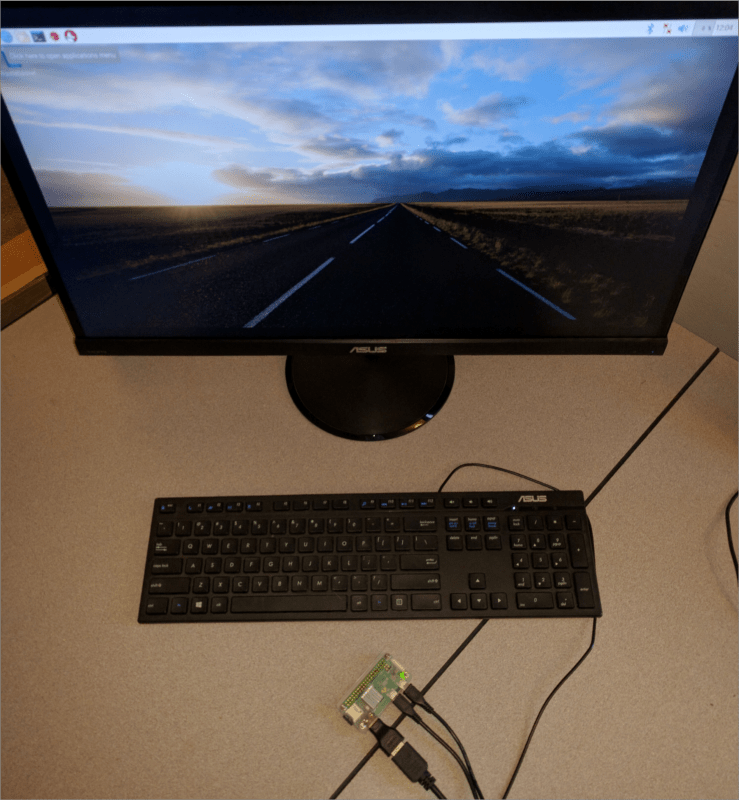
- Enjoy your new Desktop PC!
Using Raspbian
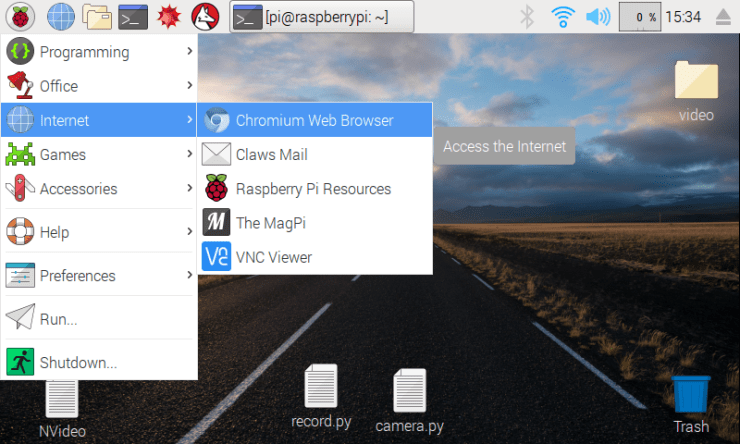
The Raspbian desktop is a very nice interface. If you are familiar with Linux, you will feel right at home with it. If you are a Windows user, just take some time and poke around the menu and taskbar icons. Access the main menu by clicking on the Raspbian Menu Button (Top left Raspberry icon).
From the Internet menu item, you can access the Chromium Web Browser and e-mail:
And the LibreOffice programs:

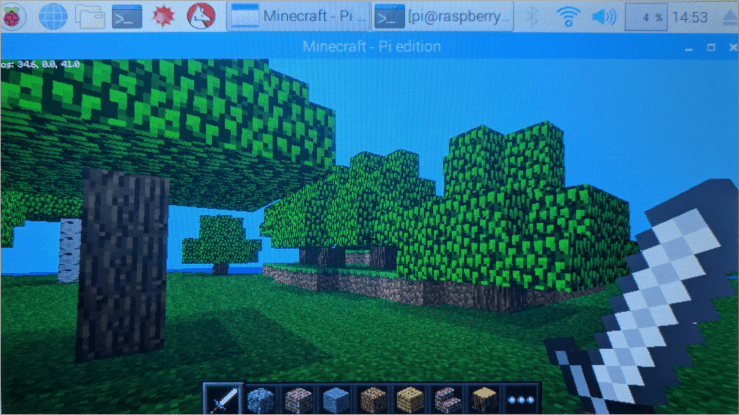
Games!
There are also several games available from the Games menu item. Raspbian even comes with “Minecraft – Pi edition”, which runs great on the Pi 3, and offers a welcome distraction from a long hard day of Internet surfing:
When you are done using the Pi and what to shut it down, just click “Shutdown” from the main menu and click “Shutdown” again. Just like a regular desktop PC, it is always best to shut down the Pi correctly instead of just pulling the power.
Pi 3 vs Pi Zero W
The smaller Pi Zero W is great in projects and you prepare the Raspbian operating system the exact same way as you would a Pi 3, but how does it do as a desktop? I’ve tried both the Raspberry Pi 3 and the Pi Zero W as desktop PCs. The Pi 3 works pretty well, but it’s lower powered Pi Zero W version does seem to struggle as a pure PC solution. Surfing and usage in general seemed pretty slow on a Pi Zero and reminded me a lot of using the internet with dial up modems from yesteryear.
The Raspbian desktop on a Pi Zero W does look pretty good though:
You will need to get converter adapters to connect an HDMI cable and regular USB devices to the Pi Zero, and don’t forget there is only 1 USB port on the Pi Zero. Overall, I would say stick to the Pi 3 if you want to be able to run Raspbian as a desktop solution.
Conclusion
In this article, we covered installing and using Raspbian on a Raspberry Pi 3. If you need a low-cost desktop solution for simple tasks, try a Raspberry Pi 3 and see if it is a viable solution for your needs. And once you get used to it, you can always use it in a project later!

Leave a comment